Chapter 3 of Separate Ways in RE4 Remake: An Entertaining Guide to Not Dying
By 2026, most survival horror veterans have already memorized every corner of the Resident Evil 4 Remake, yet the Separate Ways DLC still manages to throw even seasoned players into a loop. Ada Wong’s mission to find Luis Sera in Chapter 3 might look straightforward on paper, but anyone who has actually played it knows the truth: it’s a gauntlet of puzzles, panic, and a rather rude giant. This guide walks through every step of the mission with a healthy dose of wit, making sure the player stays one grappling hook ahead of disaster.
The Not-So-Simple Objective
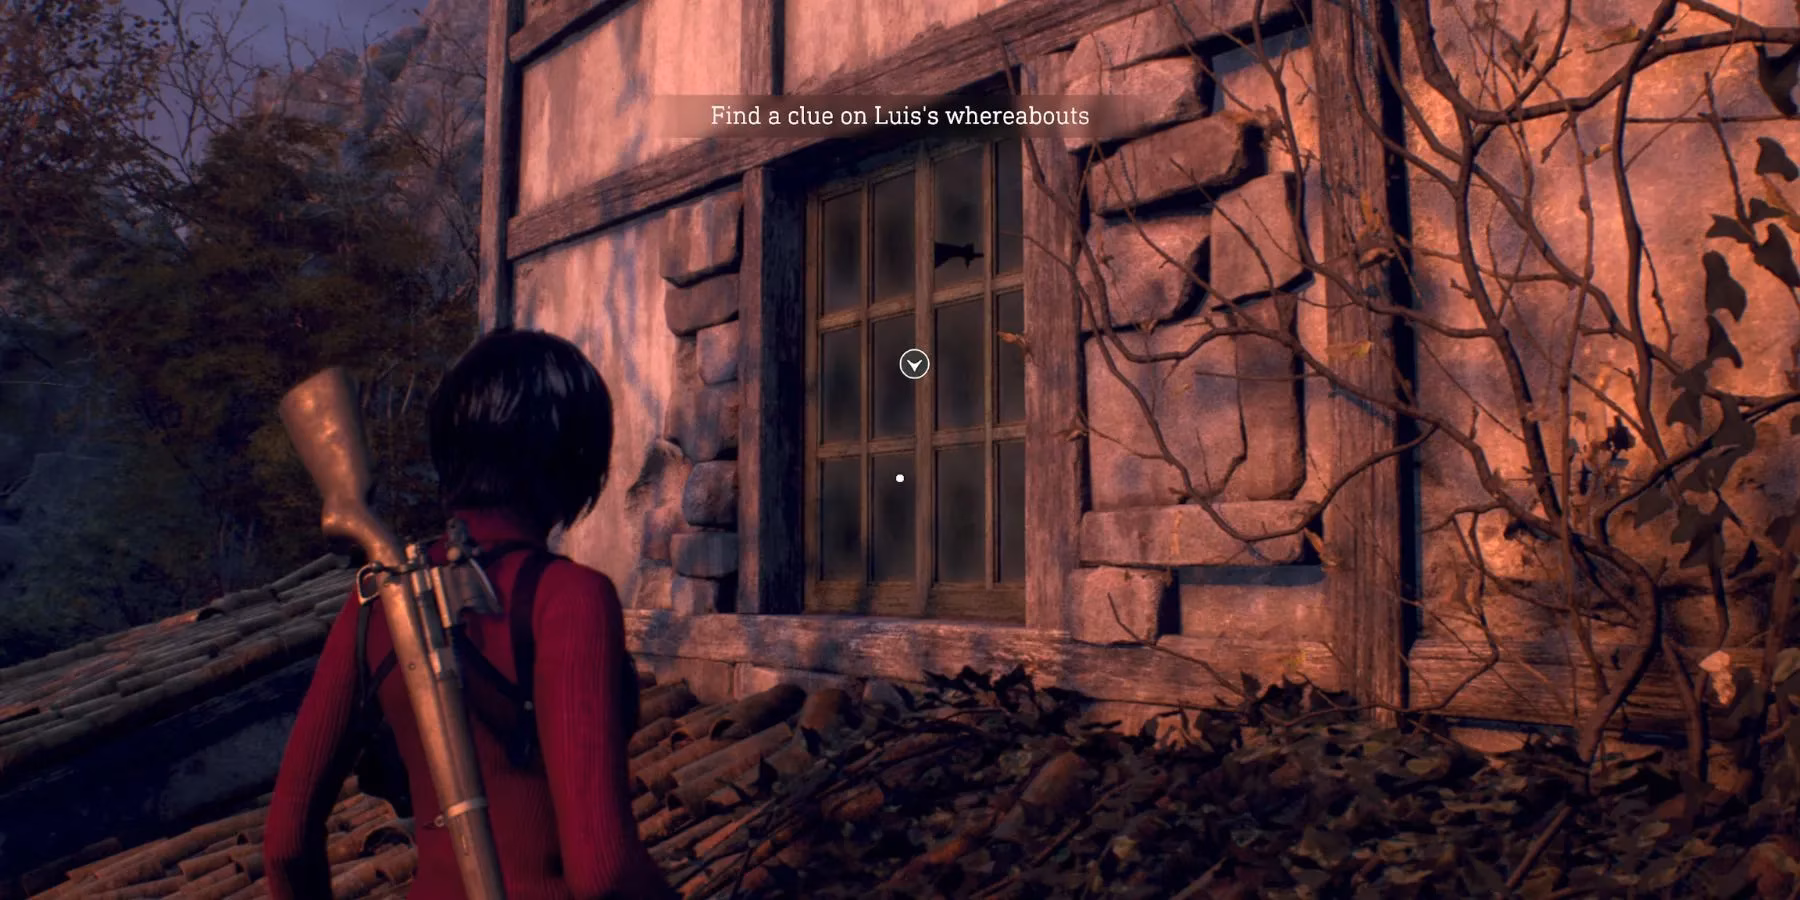
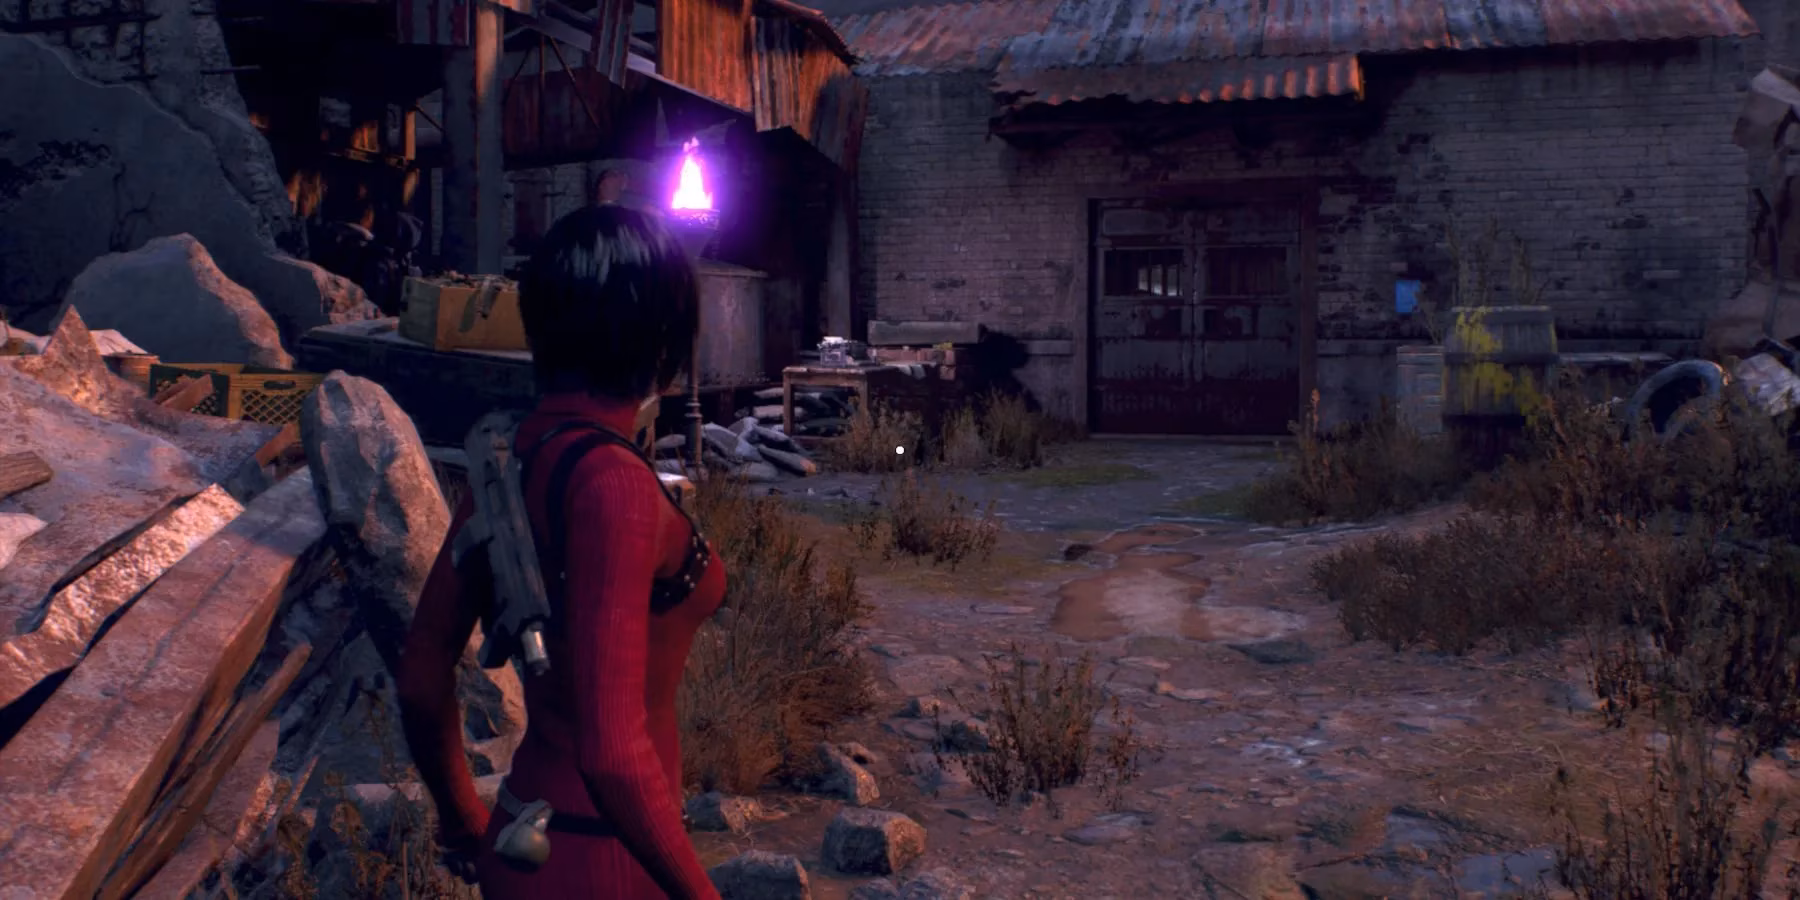
The quest starts innocently enough: poke around Mendez’s manor and figure out where Luis went. Ada, ever the professional, is tasked with discovering a clue, heading to an abandoned factory, and then surviving a series of increasingly unpleasant encounters. The game lists the objectives in a neat checklist, but the reality is far messier. Step one involves rummaging through the chief’s living room while the man himself might still be lurking nearby. Nothing says ‘stealth’ like casually pushing aside a painting to reveal a hidden key.
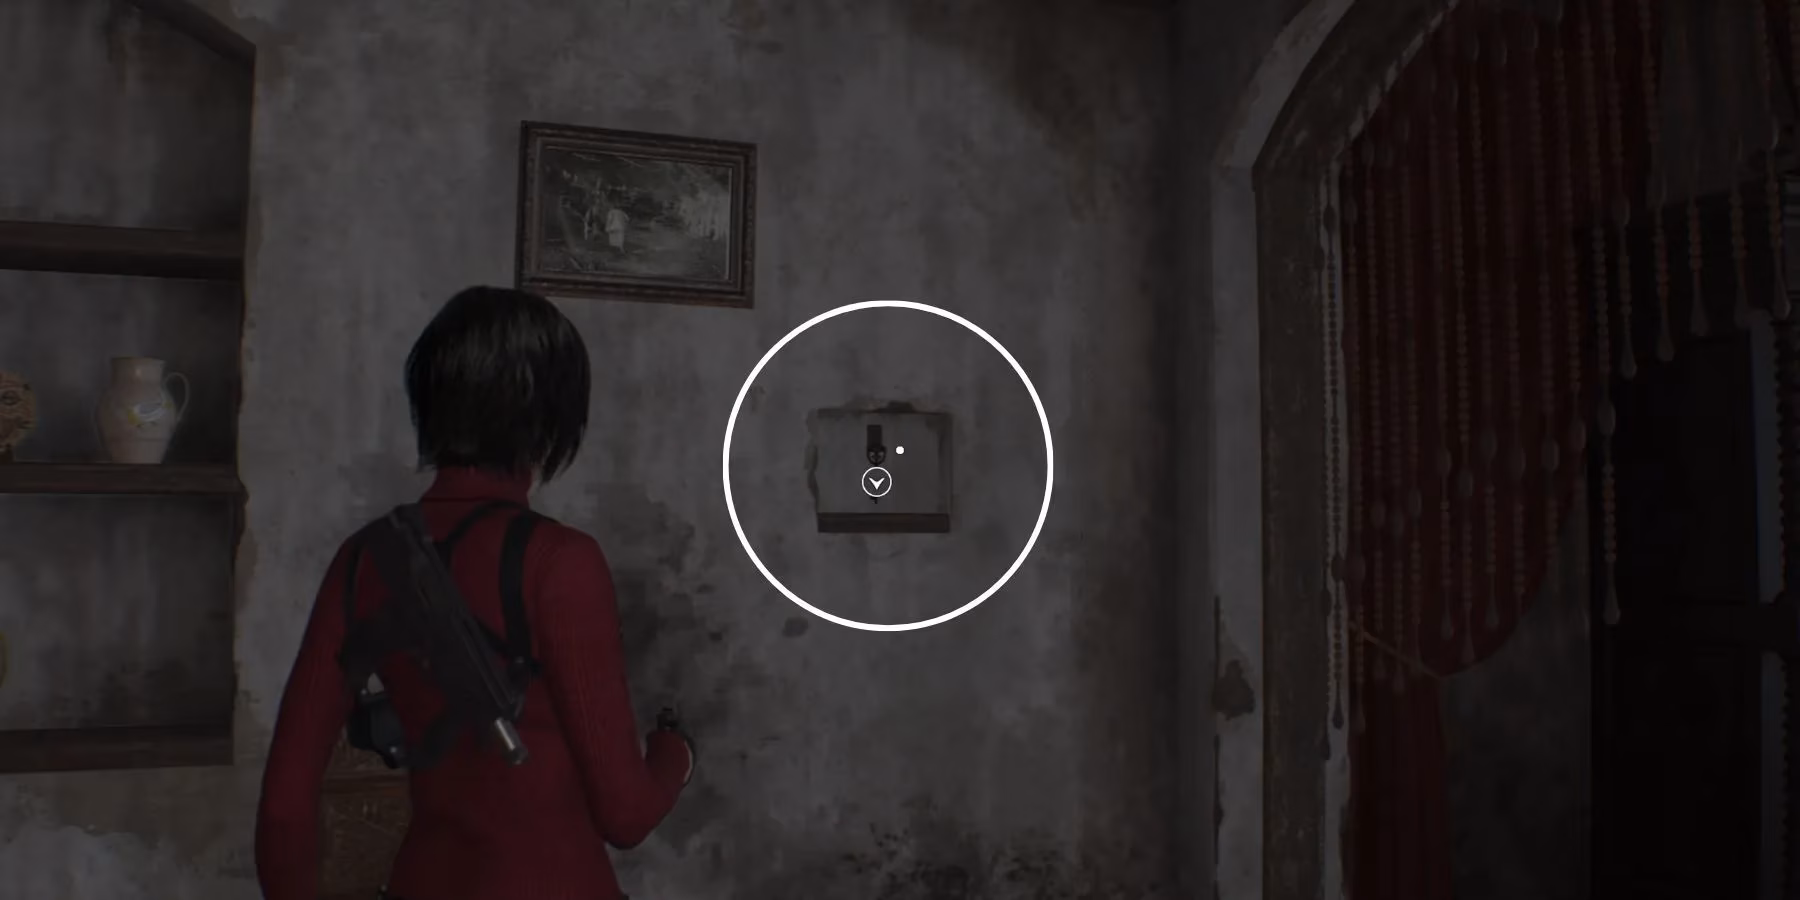
To unearth the clue, Ada must go downstairs and locate a suspiciously out-of-place painting on the wall opposite the fireplace. Shoving it aside reveals the Hidden Key, which unlocks Mendez’s drawer. Inside sits a note helpfully stating that Luis is in the Abandoned Factory’s basement. The player barely has time to process this before Mendez storms in, apparently displeased with uninvited guests. The game then expects Ada to flee, not fight—a crucial distinction that many trigger-happy gamers learn the hard way. Bullets are precious, and the grappling gun is the real MVP here. A quick zip to an upper window leaves Mendez fuming and Ada free to proceed.
Tracking a Chain-Smoking Scientist
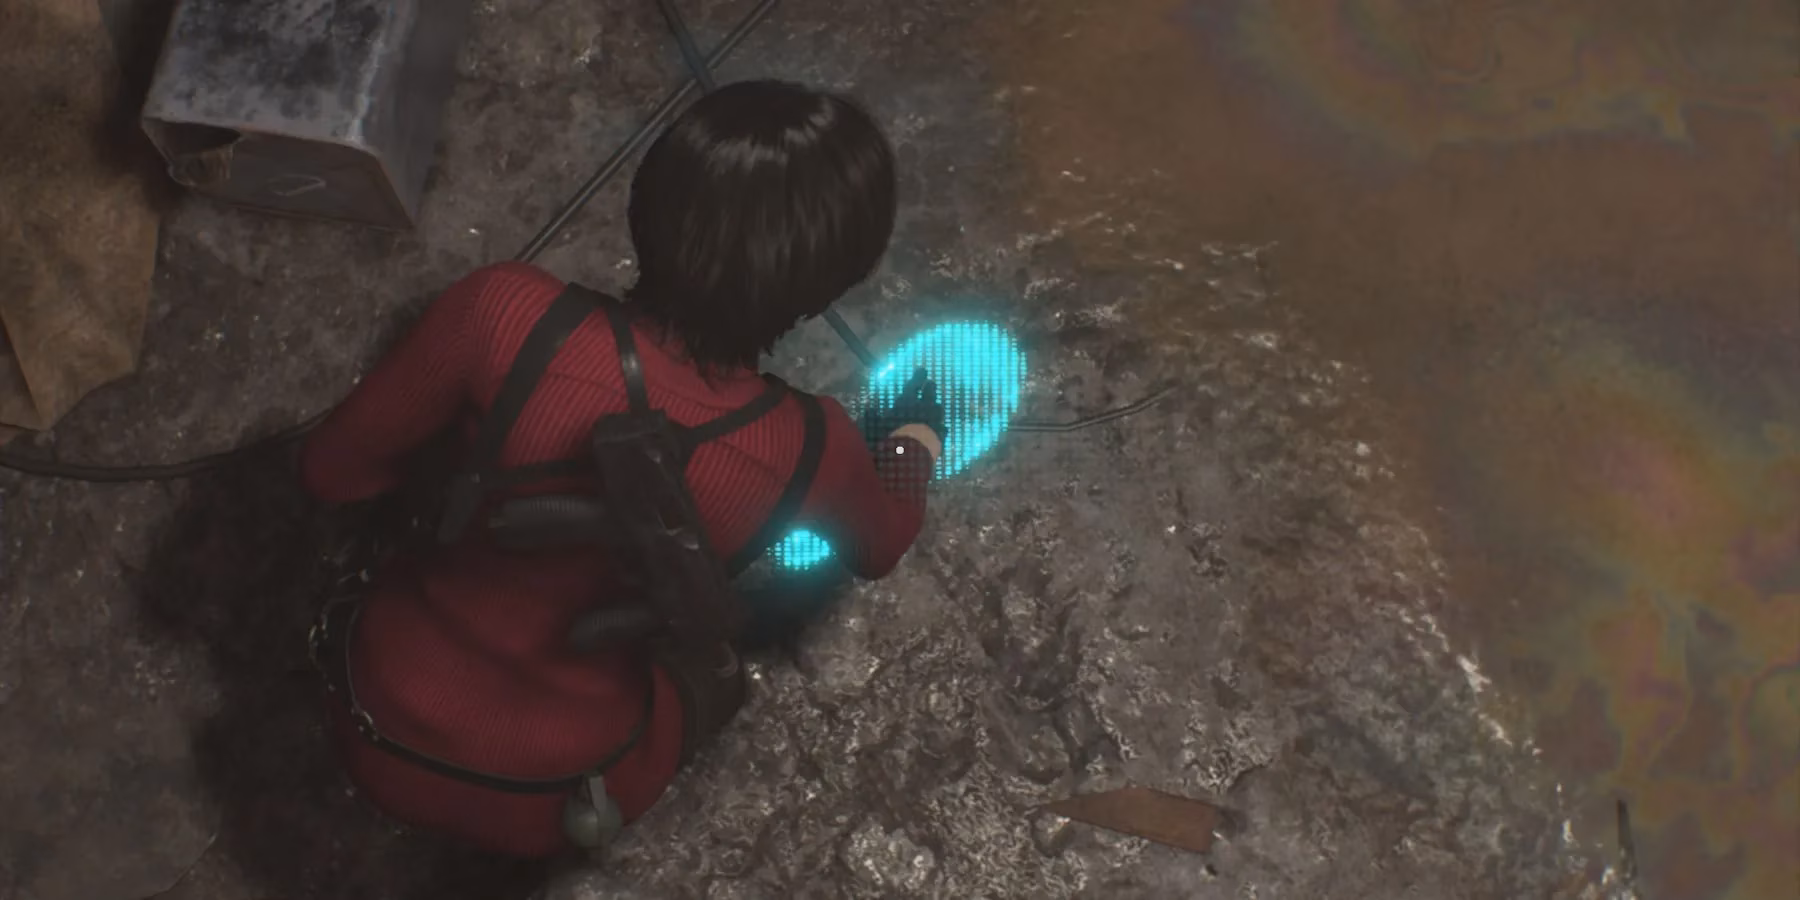
Once at the Abandoned Factory, the tone shifts to a detective novel. The place is crawling with Ganados, but the immediate puzzle is decidedly low-tech: follow the muddy footprints. Ada activates her I.R.I.S. system—a fancy retinal scanner that highlights tracks invisible to the naked eye—and heads into the basement. The system turns following dirty shoeprints into a sci-fi minigame, which is either brilliant or absurd depending on one’s mood.
The trail eventually leads to a pack of cigarettes sitting on a shelf. Here, Ada discovers that Luis, ever the classy fugitive, scribbled his radio coordinates on the pack. A quick call later and the new objective pops up: meet at the Villa. Just as the player starts to relax, the game pulls its favorite trick—a surprise party with a horde of villagers and not one but two chainsaw-wielding maniacs. The factory suddenly feels much smaller.
The Art of the Exit
Players have two distinct ways to handle this ambush: stealth or brute force. The stealth route requires patience, a silenced weapon, and the ability to not scream when a chainsaw revs nearby. The goal is to eliminate the first four enemies quietly, slip through the right-hand door (the same one where Leon once reclaimed his starting gear), and turn a steam pump wheel to slip out. It’s a tense, rewarding path that makes one feel like a true secret agent.
For those who prefer a more bombastic exit, combat is always an option. However, fighting two chainsaw Ganados in tight corridors with limited ammunition is the gaming equivalent of trying to juggle flaming torches in a broom closet. Either way, after the cutscene, Ada must exit the Chief’s Manor and head for the Villa. The game mercifully allows players to skip the Village Square and Farm hoards by simply sprinting past them. The bridge crossing acts as a boundary; once across, the next major set-piece awaits.
When Grappling Hooks Meet Giants
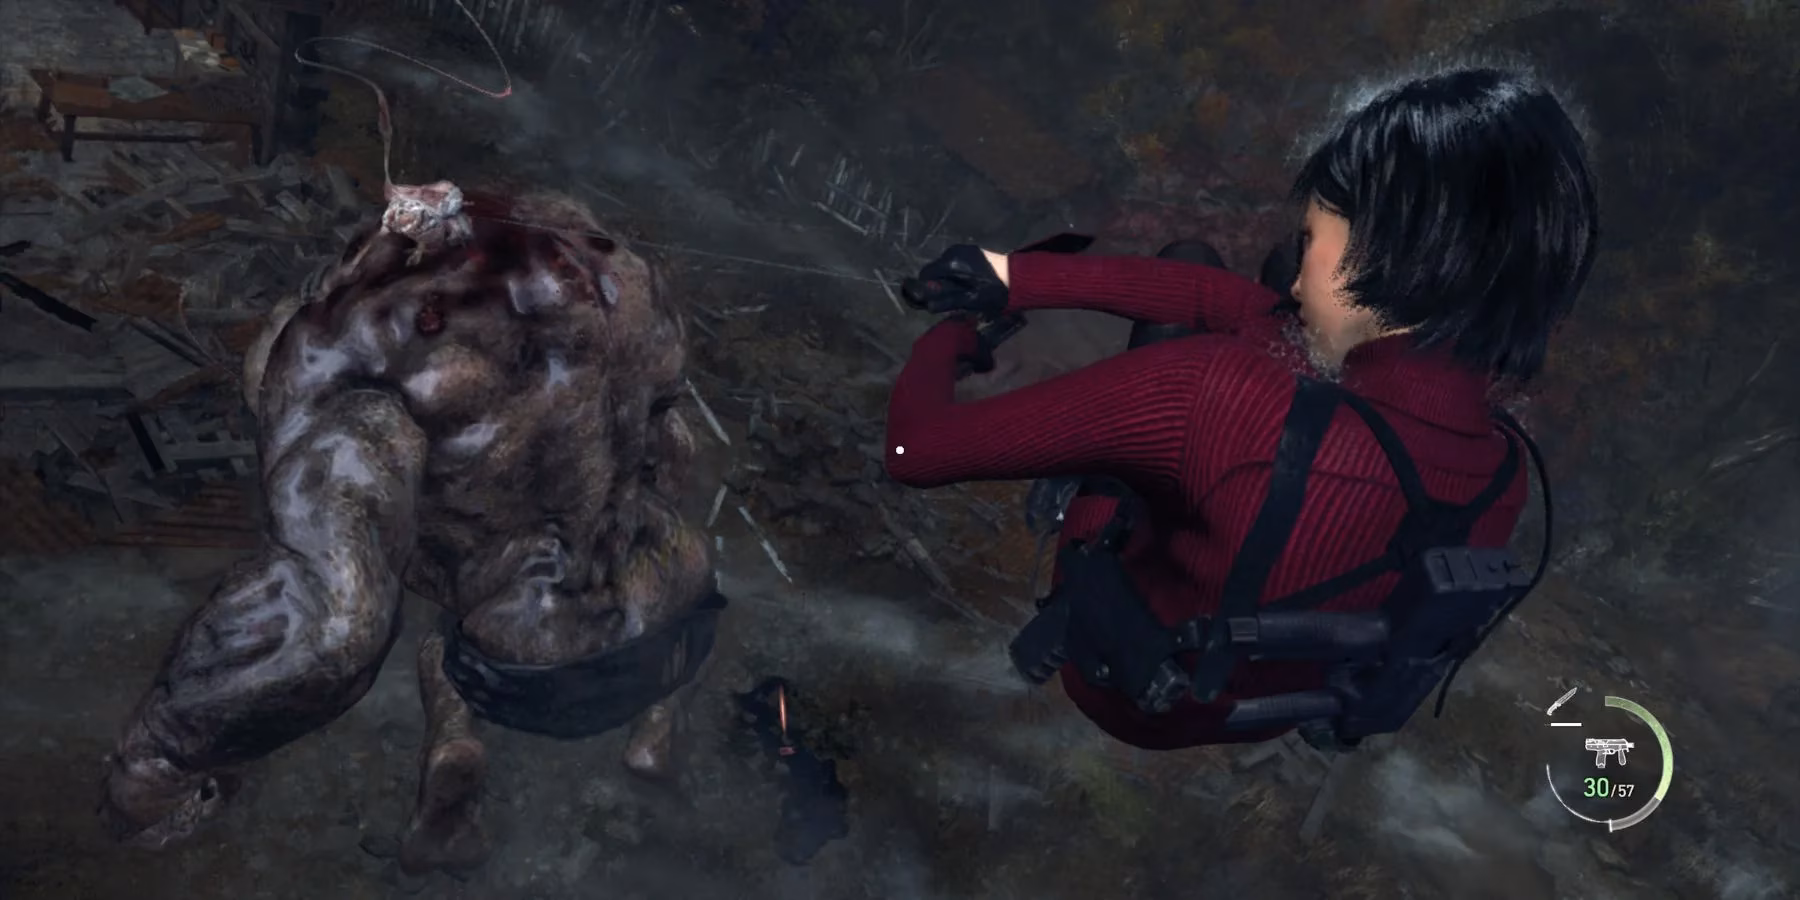
The chapter’s boss fight pits Ada against El Gigante, a creature that clearly skipped leg day but more than makes up for it in sheer bulk. The strategy relies heavily on her grappling hook—an item that transforms the battle into a high-speed ballet of zipping to rooftops and unloading rounds into the parasite on the giant’s back. When the monster staggers, the prompt to press RT/R2 appears, allowing Ada to deliver a devastating melee strike that never gets old.
Patience is essential because the giant loves to uproot trees and hurl them like javelins. The arena offers plenty of verticality, so players should treat it like a deadly game of tag. Get in, deal damage, grapple away, repeat. It’s a fight that rewards mobility over raw firepower, and anyone who tries to face-tank the beast will quickly become a pancake.
Treasure for the Glamorous Spy
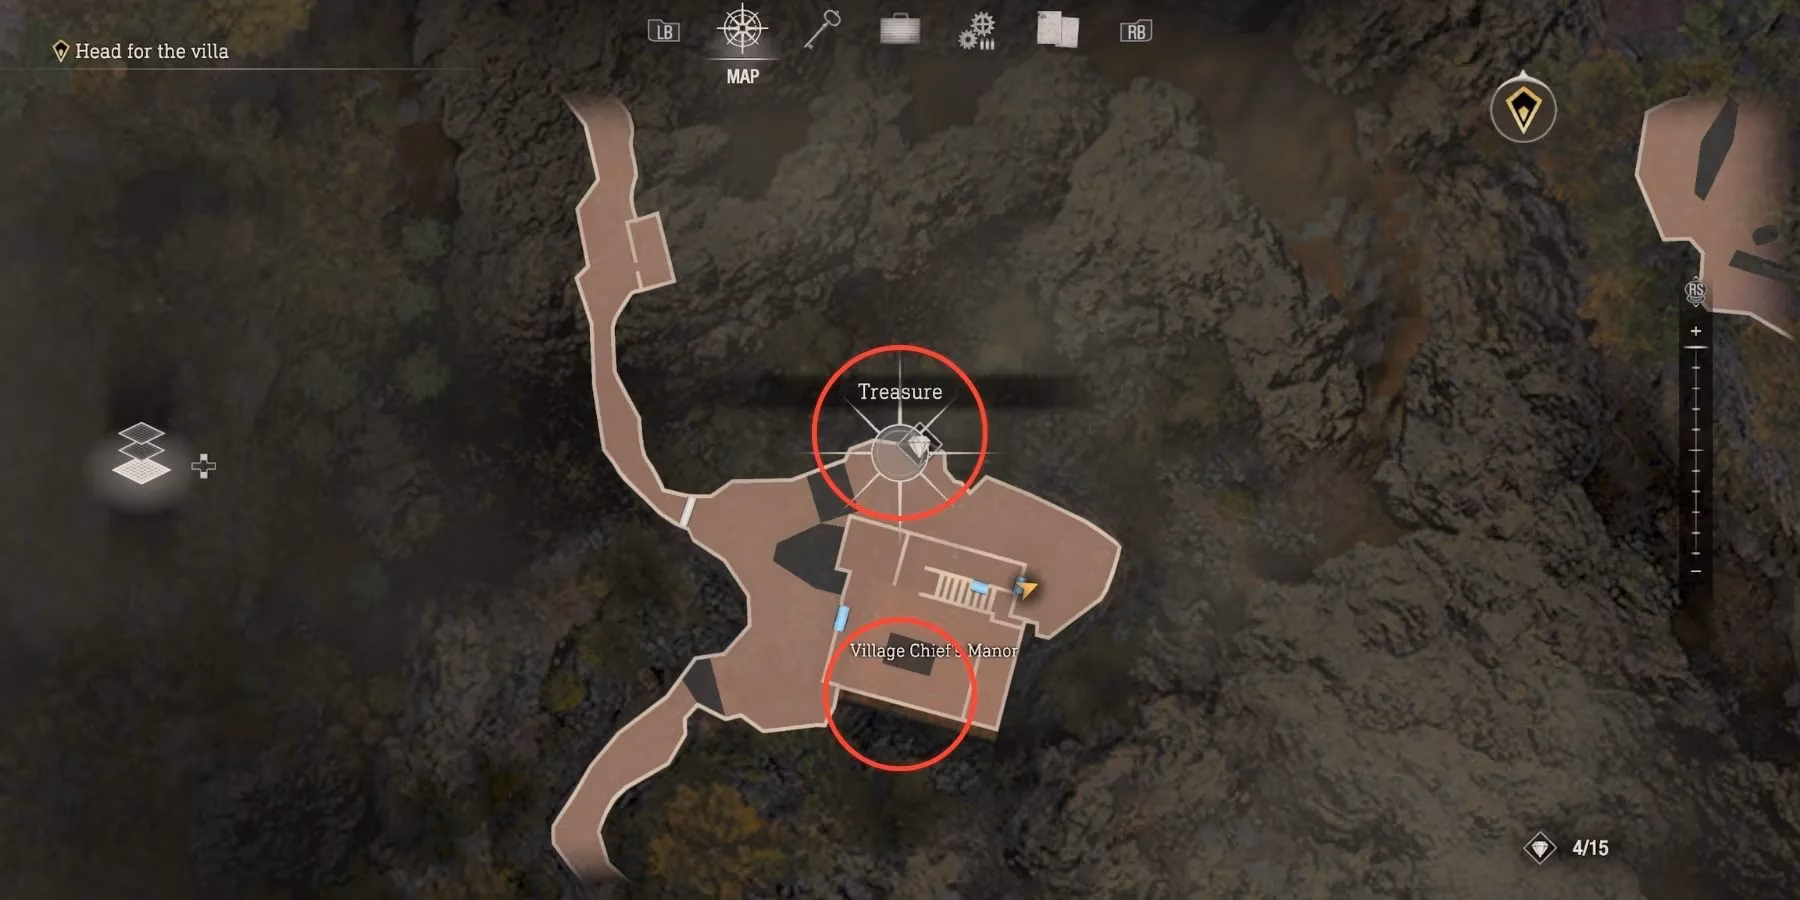
No Ada adventure would be complete without a little looting, and Chapter 3 packs eight treasures into its nooks and crannies. Here’s where to find every shiny trinket:
-
Extravagant Clock – Resting smugly on the fireplace inside the Chief’s Manor, impossible to miss.
-
Red Beryl – In a box just outside the manor’s right flank. A little fresh air, a little gem.
-
Emerald – Hanging from a rock near the dead-end path left of the Merchant by the Abandoned Factory. A well-placed shot sends it tumbling down.
-
Large Gold Bar – Locked inside a drawer in the same room where the Blast Crossbow awaits. Unlock, retrieve, resist the urge to bite it.
-
Antique Pipe – Inside the cabin to the left in the Village Square while en route to the Villa.
-
Pearl Pendant – Dangling from the small windmill in the Farm section. Shoot the container and claim the prize.
-
Blue Sapphire – Hidden behind boxes inside that same windmill. A bit of crouching and crate-breaking required.
-
Yellow Diamond – Affixed to the wall outside the windmill. Another shot, another satisfying clink.
Grabbing all eight not only fattens Ada’s wallet but also provides a small dopamine hit that offsets the trauma of the previous boss fight. With treasures in hand and a giant defeated, Chapter 3 concludes, leaving Ada one step closer to unraveling the madness surrounding Luis and Los Illuminados. The player can now take a deep breath—and immediately dread what Chapter 4 has in store.
As players navigate through Ada's thrilling adventure, the need for strategic upgrades and essential gear becomes apparent. Whether it's acquiring the right weaponry or finding the best tools to aid in her mission, savvy gamers understand the importance of getting the best deal. Exploring options for in-game purchases or enhancements can make a significant difference in gameplay experience.
For those looking to optimize their gaming setup or find competitive prices on the latest gear, it's worth taking a moment to compare prices here. DealNest offers a comprehensive platform to ensure you get the most out of your gaming investments, allowing players to focus on their next challenge without worrying about overspending. Whether it's the newest console or accessories to enhance your play, a bit of research can make all the difference in your gaming journey.