I Took Down Every Boss in Resident Evil 4 Remake's Separate Ways – Here’s How
So, you’ve snagged the Separate Ways DLC for Resident Evil 4 Remake and you're wondering just how many nightmare-inducing bosses Ada has to dance with. Trust me, I’ve been there – controller in a death grip, heart hammering as some monstrosity lunges out of the dark. Now that we’re well into 2026, the strategies have been refined, but the thrill of the fight never gets old. Let me spill the tea on every single boss encounter I survived, and the tricks that kept Ada on her feet.
During all seven chapters, you’ll tangle with a total of four unique bosses, though one of them morphs into a freaky alternative form, giving you more bang for your buck. In order, you’ll face The Black Robe (twice), El Gigante, Pesanta (aka U-3), Test Subject, and finally, Saddler. I’m breaking down each fight below so you can waltz through this DLC without using up all your healing items in a panic.
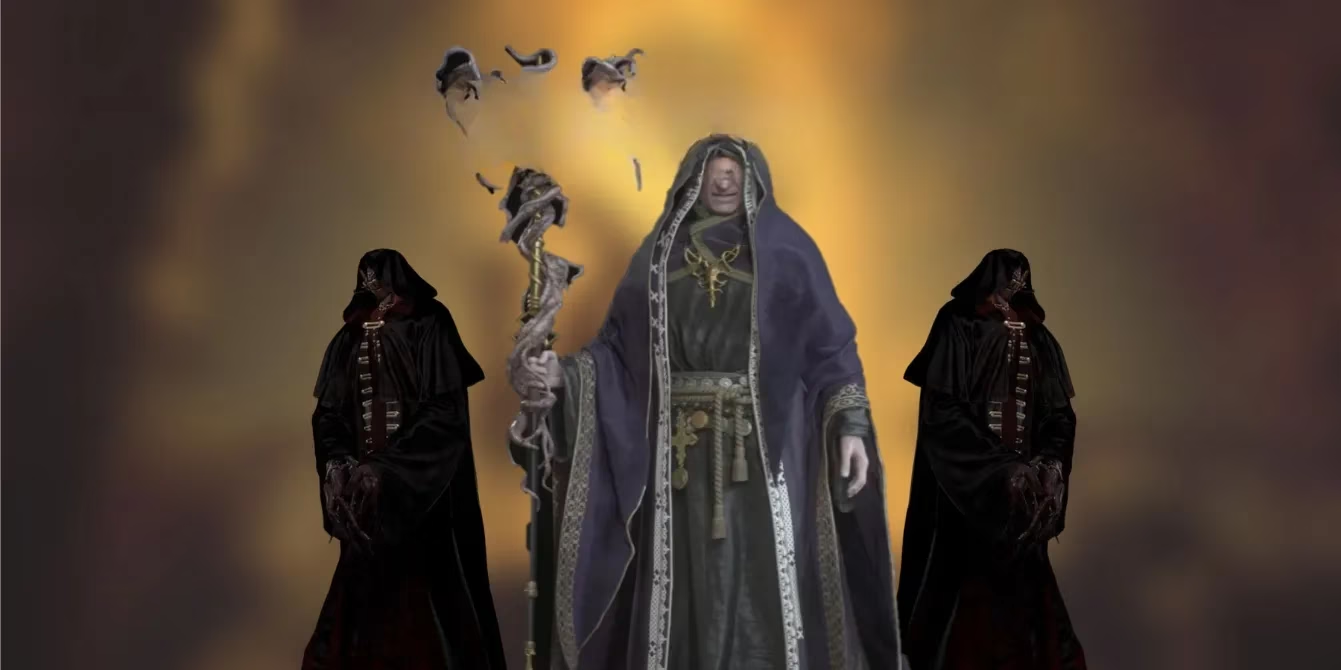
The Black Robe – First Encounter (Church)
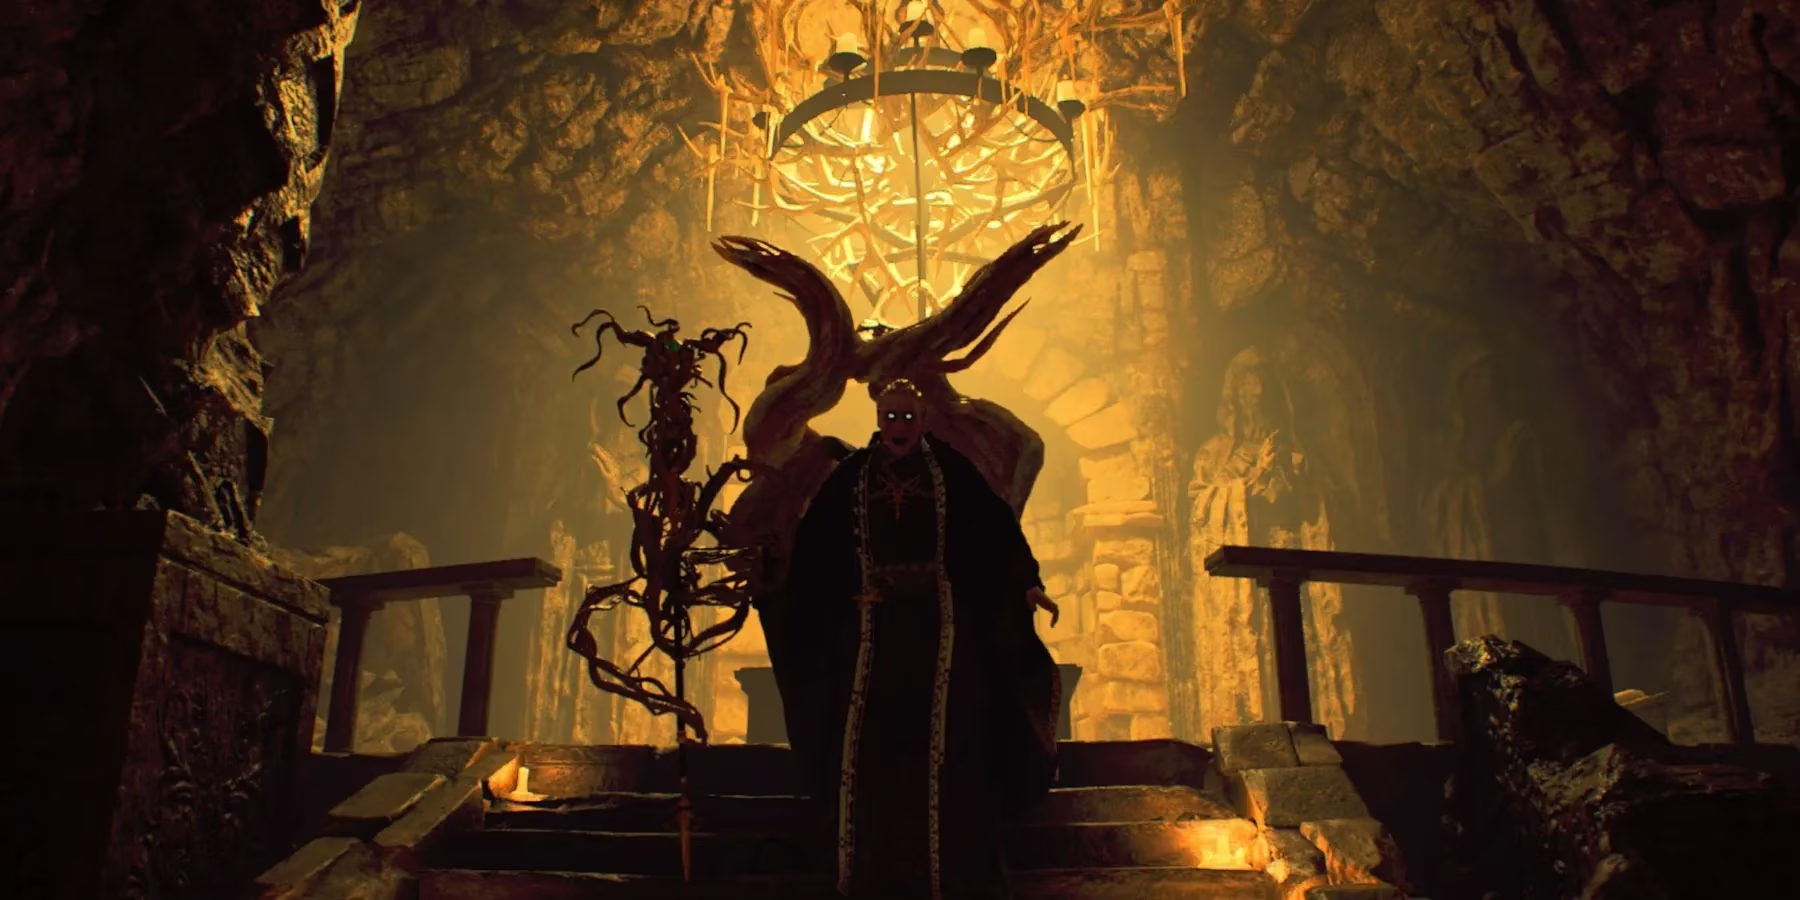
Right out of the gate, this robed creep puts on a show. He throws clones at you like confetti, but here’s the kicker: only one of them sports those glowing red peepers. I learned fast to ignore the decoys and plug the real deal in the noggin. Aim for the head, keep strafing, and if you lose track, just scan for the ruby-red eyes. It’s a game of whack-a-mole, but with more tension. Once you’ve popped the correct shadow a few times, he’ll vanish, and you can breathe again.
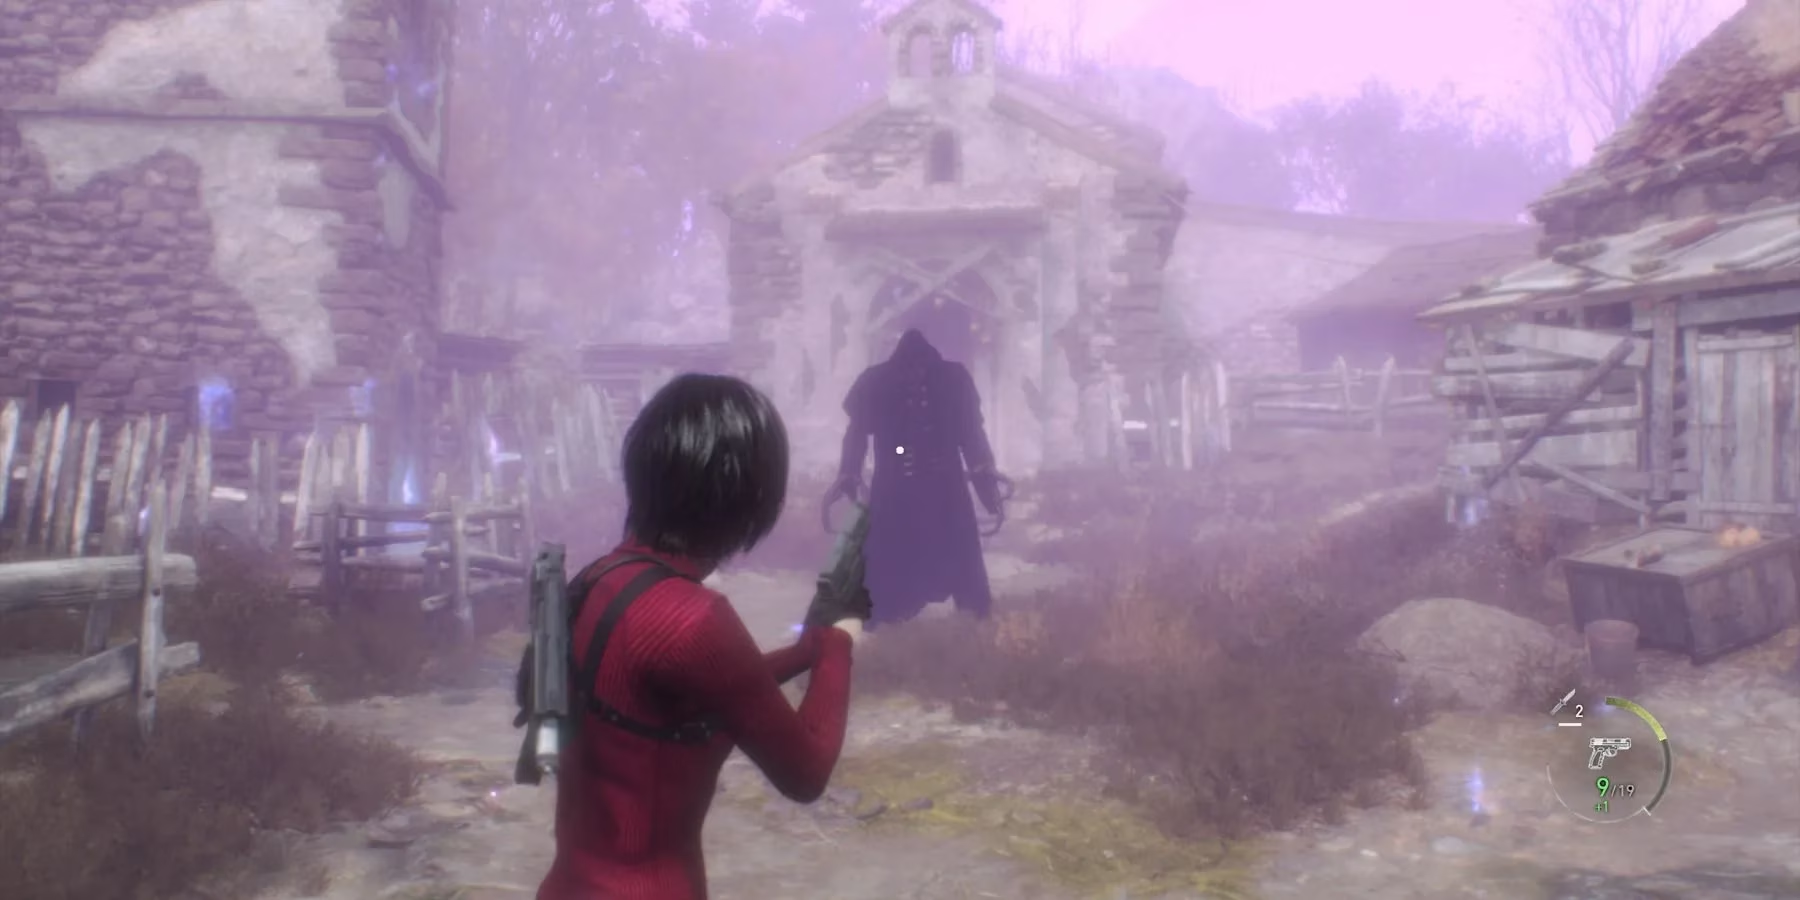
The Black Robe – Second Encounter (Village)
Round two in the Village Square feels like déjà vu with a twist. Now the shadows swarm you in a more open space, and it’s easy to get overwhelmed. My saving grace? Flash Grenades. Toss one and watch his copies fizzle out, leaving the real menace exposed. Same drill: look for the one with glowing eyes amidst the chaos and let him have it. If you’re low on flashes, kite the enemies in a wide circle and pick your shots. It’s a bit of a grind, but patience works wonders.

El Gigante (Chapter 3)
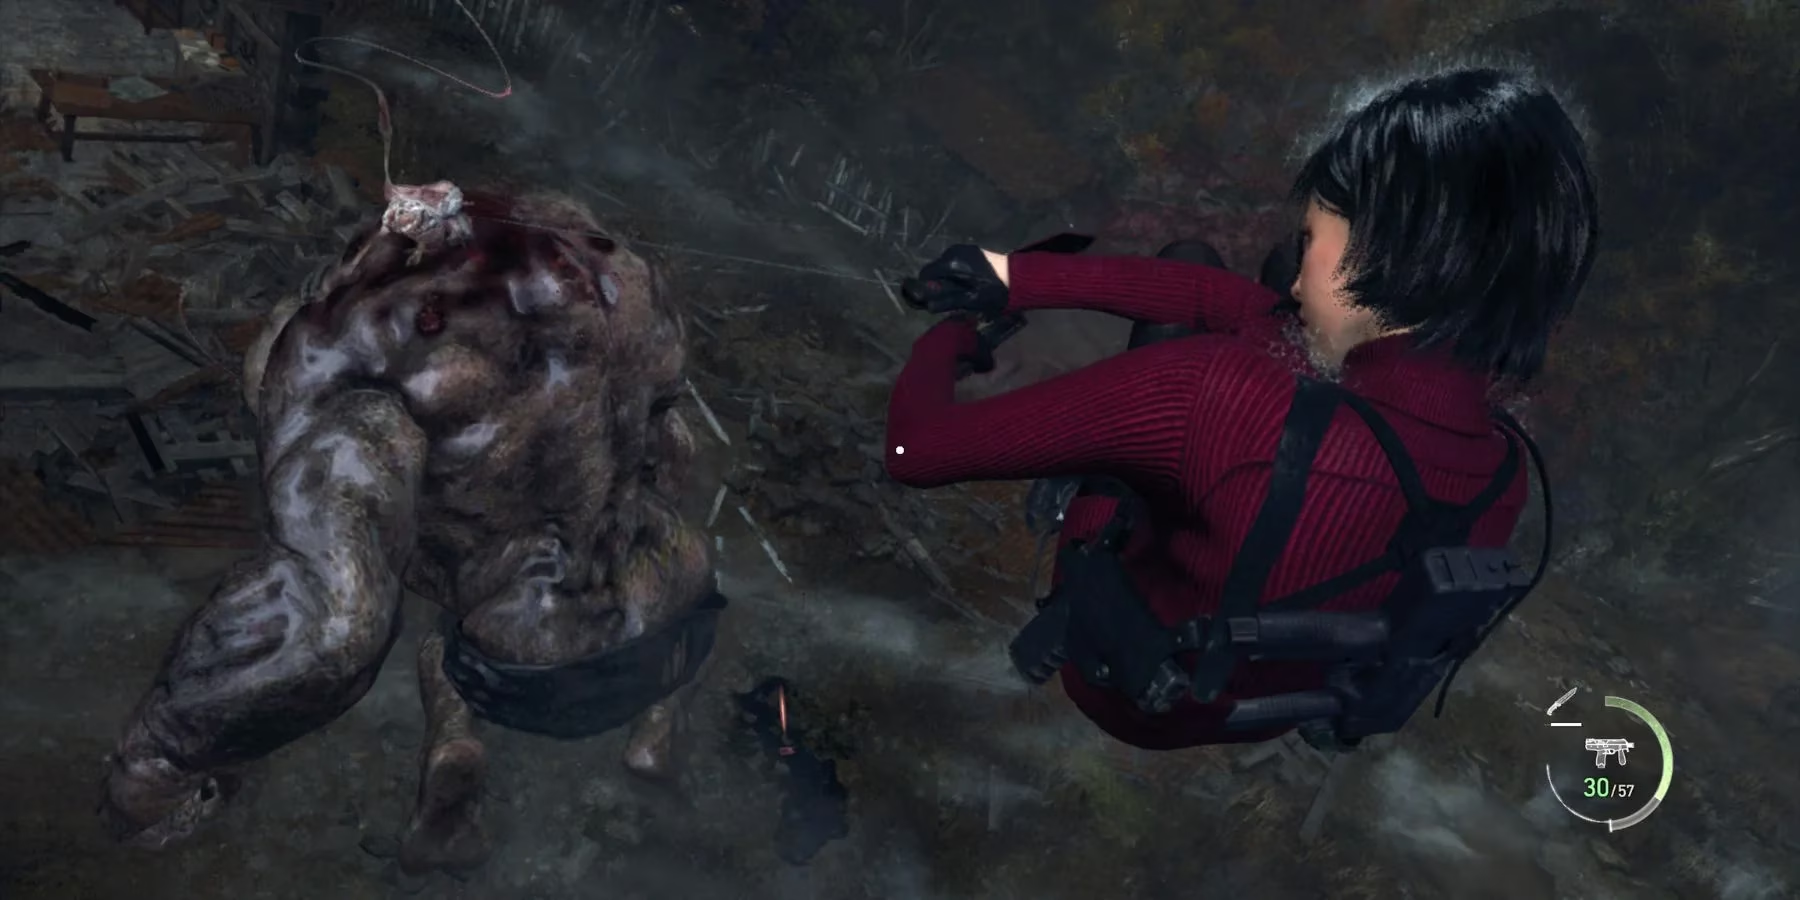
Ah, the big boy. This hulking lump is basically a walking mountain with a weak spot on his dorsal side. I’ll be real – when I first saw him, I almost chucked my controller. But the strategy is surprisingly straightforward. Grapple up to the rooftops to get a height advantage. From there, unload everything you’ve got on the parasite sprouting from his back. Once he’s stunned, a prompt will appear (RT on Xbox, R2 on PlayStation); hit that to deliver a savage melee attack on the exposed Las Plagas. Rinse and repeat two to three times, and he’s history. Just don’t fall off the roofs – I did once, and it was not a vibe.
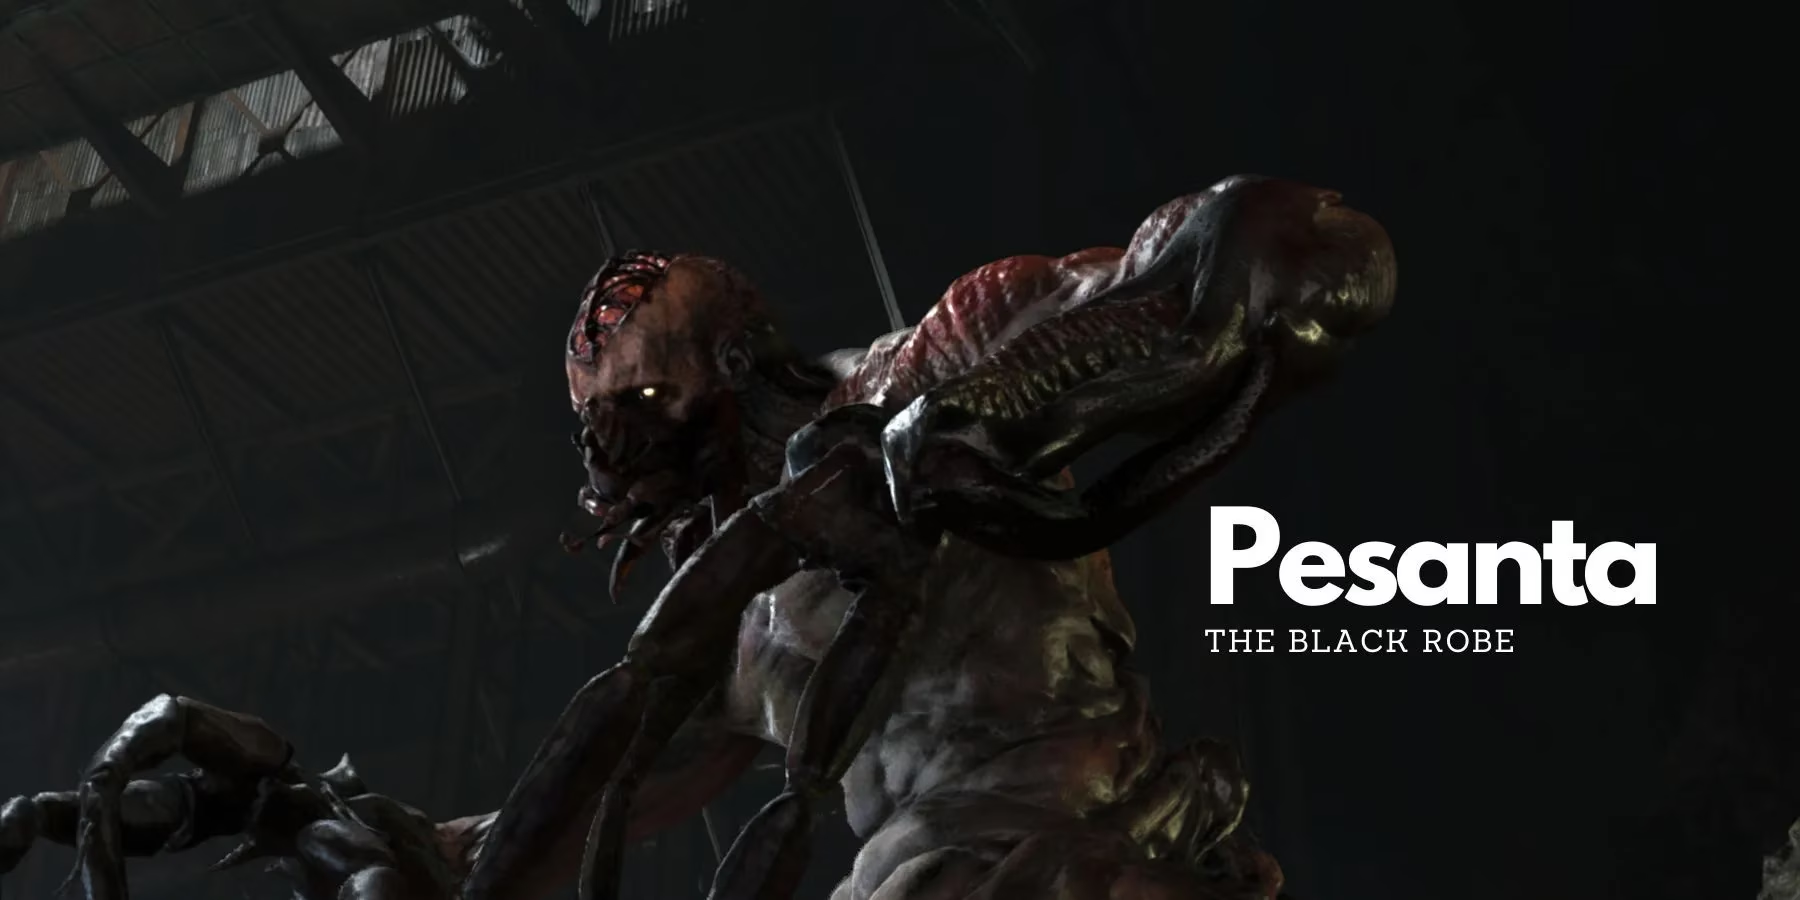
Pesanta (U-3) – Chapter 5
Okay, this is where things get gnarly. Pesanta is The Black Robe’s final form, a grotesque scorpion-human hybrid that gave me major heebie-jeebies. The fight unfolds in Gregorio’s Waterway, and it has two phases.
In the basic form, Pesanta uses three main moves: a lunge, a strike, and a projectile attack. Dodge the first two with well-timed B/Circle and LB/L1 taps, and keep moving to avoid that nasty poisonous larva he spits out. Circle the arena while pumping bullets into his head. When he switches to tail form, keep circling until the tail pokes up from the ground. Look for the glowing spot under its belly and shoot it until the creature drops into a stunned state. Then rush in and stab that weak point for massive damage. Novistadors join the party too; flash grenades make short work of them. It’s a sweaty fight, but totally doable once you get the rhythm.
Test Subject (Chapter 6)
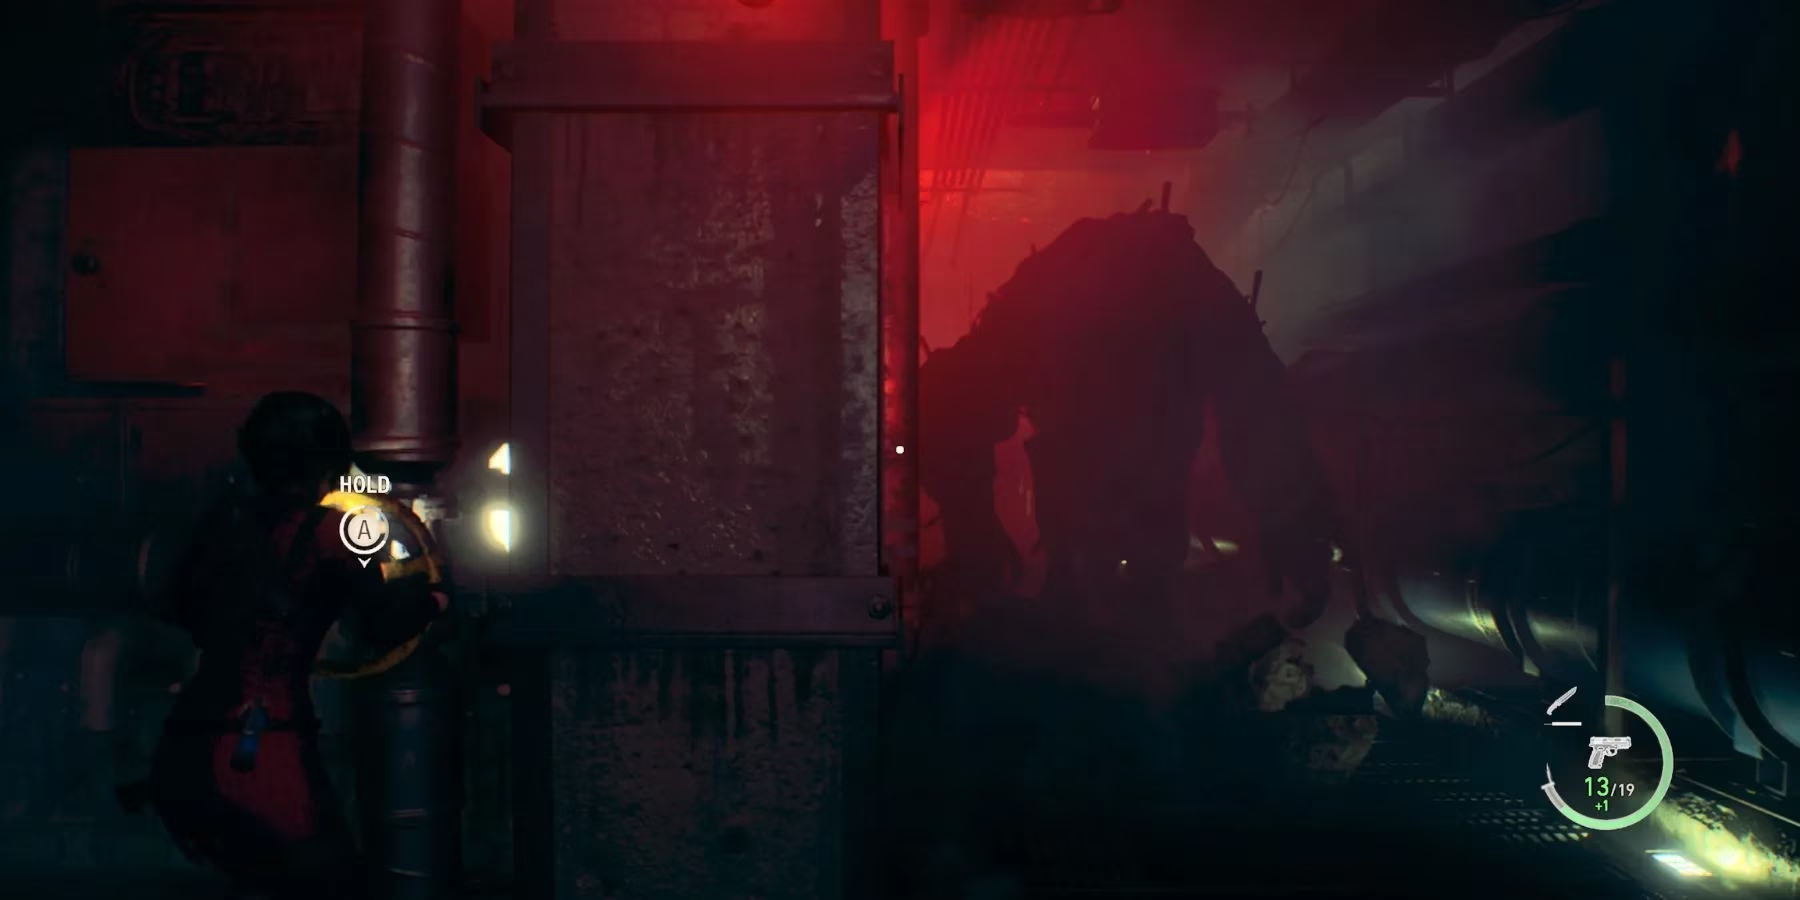
This lizard-like abomination is more of a set piece than a traditional boss. I first spotted it skulking around the Comms Facility, and let me tell you, my initial instinct was to bolt. And that’s exactly what you should do. Run like your pants are on fire until you reach the sewage channel. Later, as you make your escape, you’ll trigger a quick time event (QTE) in a laser room. Nail the button prompts and the Test Subject gets shredded. No drawn-out gunfight required – just sharp reflexes and a dash of luck.
Saddler – The Grand Finale (Chapter 7)
And here we are, the big cheese himself. Facing Saddler had me white-knuckling it for a solid twenty minutes. The gist: you need to target the Las Plagas eye in his mouth. He’s got a repertoire of six attacks – lunge, strike, grab, ground pound, poisonous vomit, and that spin-to-win tornado strike. The first five can be dodged or parried with the usual B/LB or Circle/L1 inputs. The tornado lunge, though? That one almost wrecked me. When you see him rev up, you’ve got to press the grapple button before he closes the distance. It’s a matter of timing, not panic-mashing. Focus on the eye, dodge like a champ, and Saddler will eventually crumble. You’ll feel like an absolute legend.
Final Thoughts
After all the chaos, Ada’s side story wraps up beautifully, and knowing how to handle each boss makes the journey way less frustrating. Whether you’re a veteran revisiting the game in 2026 or a newcomer who just grabbed the gold edition, these tips will keep you out of the game-over screen. Remember, dodge timing and weak-point exploitation are your best friends. Now go out there and show those B.O.W.s who’s boss. And for goodness’ sake, stock up on flash grenades – you’ll thank me later.