RE4 Separate Ways Chapter 6: 10 Treasures & Full Walkthrough
Okay, babes, Chapter 6 of Ada’s Separate Ways DLC is straight-up chaos—in the best way possible! 😱 It’s 2026, and I’m still obsessed with this mission. Wesker shows up out of nowhere, drops a cryptic device in your hands, and tells you to hook it up to the Island’s control room. Like, no pressure, right? 💁♀️ But don’t worry, I’ve got your back with every single step, secret, and shiny treasure. Let’s dive in!
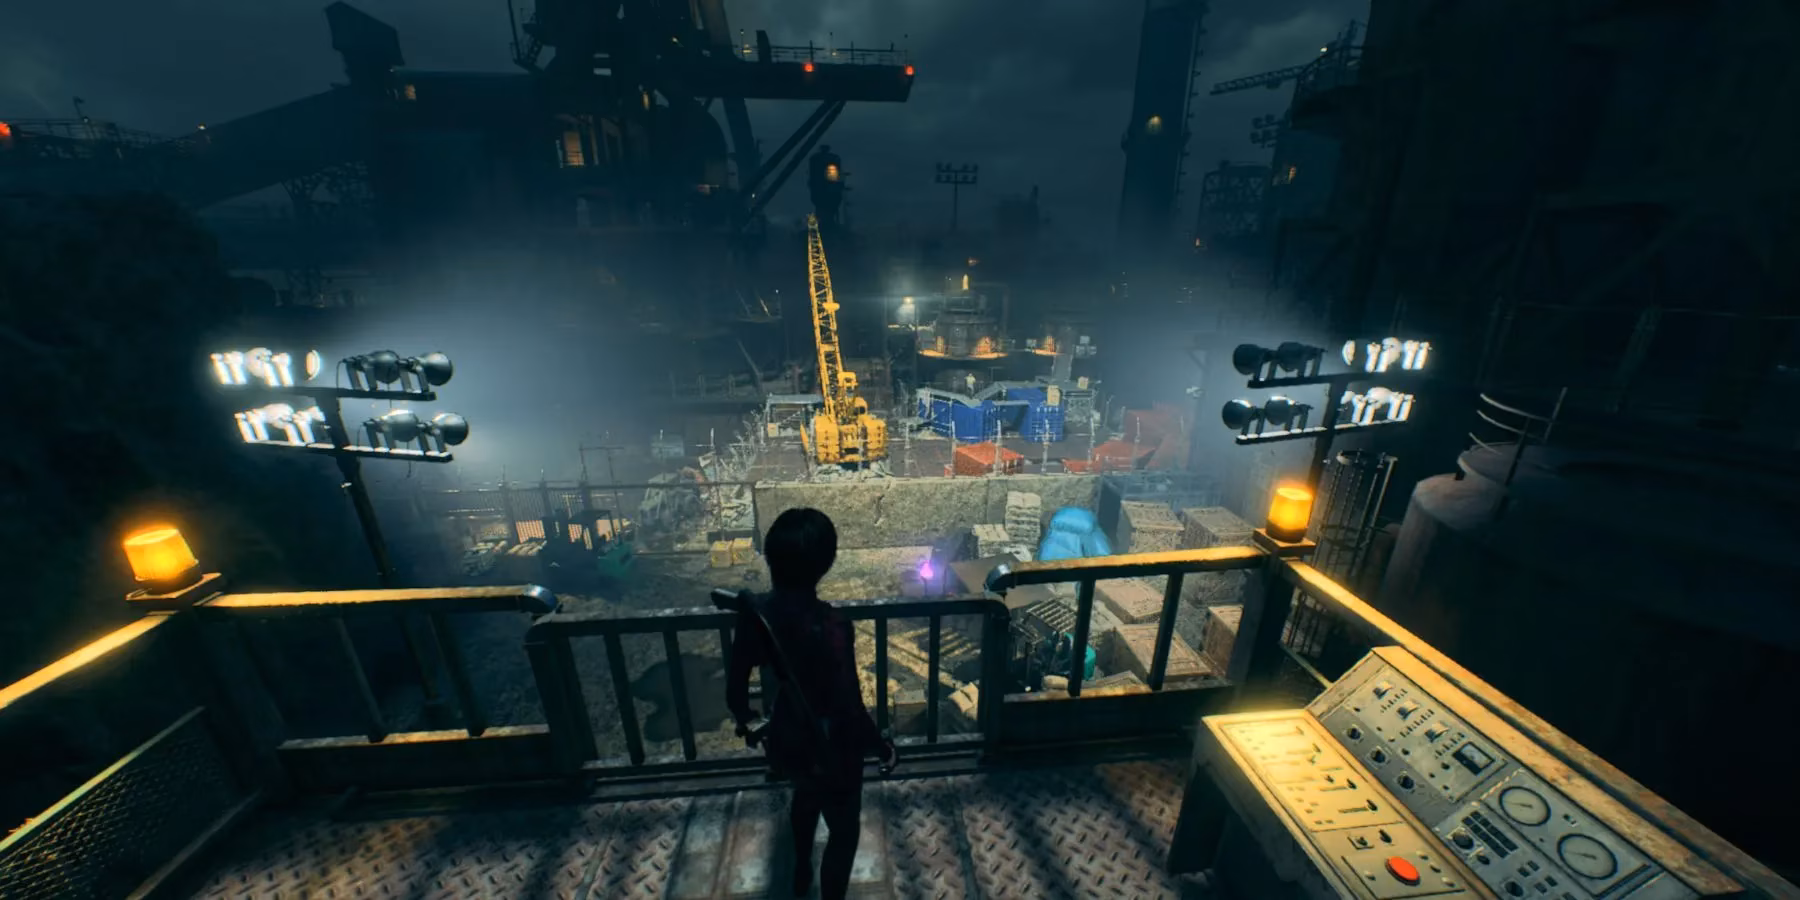
🏭 Getting to the Comms Facility (Without Losing Your Head)
You start in the Amber Storeroom, and the vibes are instantly creepy. Almost immediately, you slide down into a container yard that’s crawling with soldiers and those beefy Brutes. Now, listen closely—you can totally skip this fight! 🙌 I wish I’d known that the first time I played. Just dash up the ramp near the crane and slip through the door on the left. You’ll thank me later when you still have ammo for the real nightmares ahead.
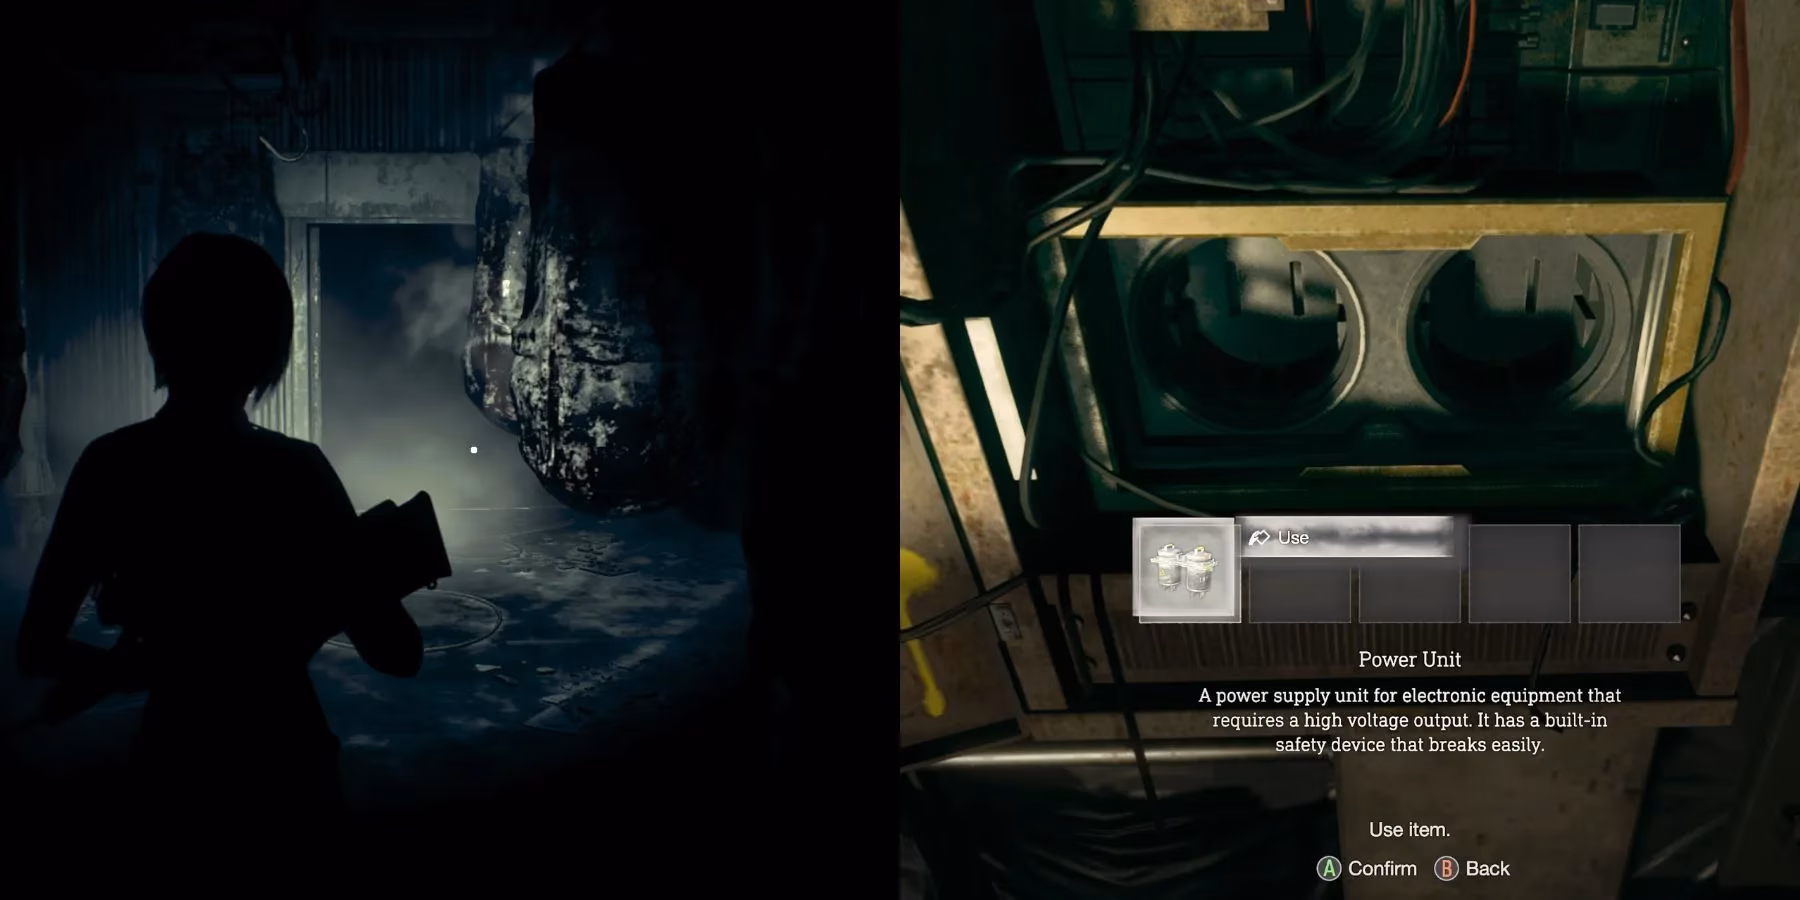
From the Facility 1 Loft, you need to reach the Freezer. The path winds through the Incubation Area and into the Lab—remember those pesky Electronic Door Puzzles Leon had to solve? Yeah, same vibe. Inside the Freezer, you’ll spot a set of power units (basically giant batteries). Grab them, then shimmy through those narrow wall cracks—Ada’s flexibility is seriously enviable—to pop them into the empty slot back in the Loft. Voilà, power restored! 🔋
Here comes the fun part: Regeneradors. And by fun, I mean terrifying. 😂 You’ll run into at least three of them in the Lab, and they’re just as wobbly and unstoppable as ever. Did you remember to bring a Biosensor Scope? Please tell me you did. You absolutely need it to see their internal parasites. Shoot those glowing blobs until the Regenerador is cooked. If you’re short on supplies, there’s a sneaky tactic: run past the optional ones, but for the mandatory ones, aim carefully and don’t panic.
🔫 Turrets? More Like “Turn-‘em-off”
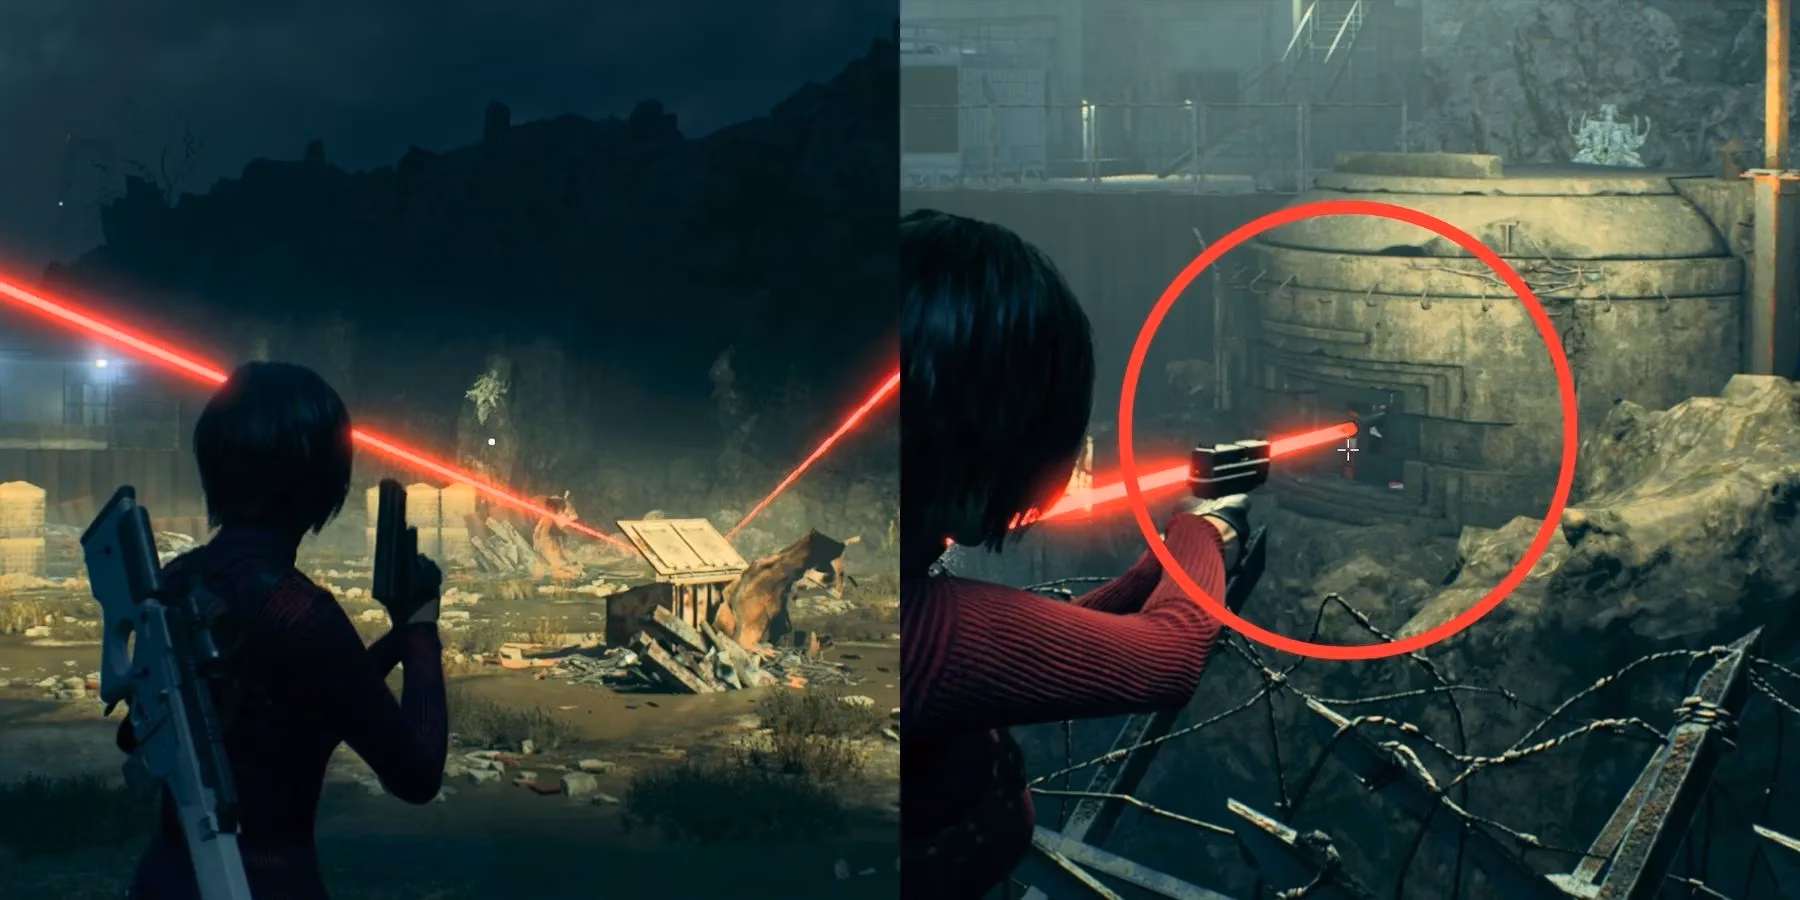
The Comms Facility entrance is guarded by those annoying mounted guns. You can’t just stroll in, sadly. What you need to do is get behind each turret and blast the red barrel inside. Sounds simple, but the timing can be tricky with bullets flying everywhere. After you drop down into the guarded area, immediately grapple to the opening on the right. Work your way around, destroying every turret you see. Pro tip: use a scoped weapon to hit the barrels from a distance if you’re feeling squishy.
🧟 The Creepiest Lab Creature and Door Codes
Once you’re inside the facility, things get even wilder. A monstrous lab creature starts chasing you—and no, you can’t kill it in the traditional way. The first encounter is all about running. Turn the wheel to open a gate, squeeze through, and drop into the sewage canal to sneak behind it. The atmosphere here is chef’s kiss.
Now, the facility has three locked doors, and Ada’s I.R.I.S. vision is the key. Activate it to see fingerprints on the keypads, and then guess the codes. Yes, it’s a guessing game, but I’ve done the homework for you:
| Door | Code | Notes |
|---|---|---|
| First | 148 | Right after the creature chase |
| Second | 237 | Opens the laser trap hallway |
| Third | 430 | Leads you closer to the control room |
Write these down or just screenshot this! You don’t want to be fumbling while the creature breathes down your neck.

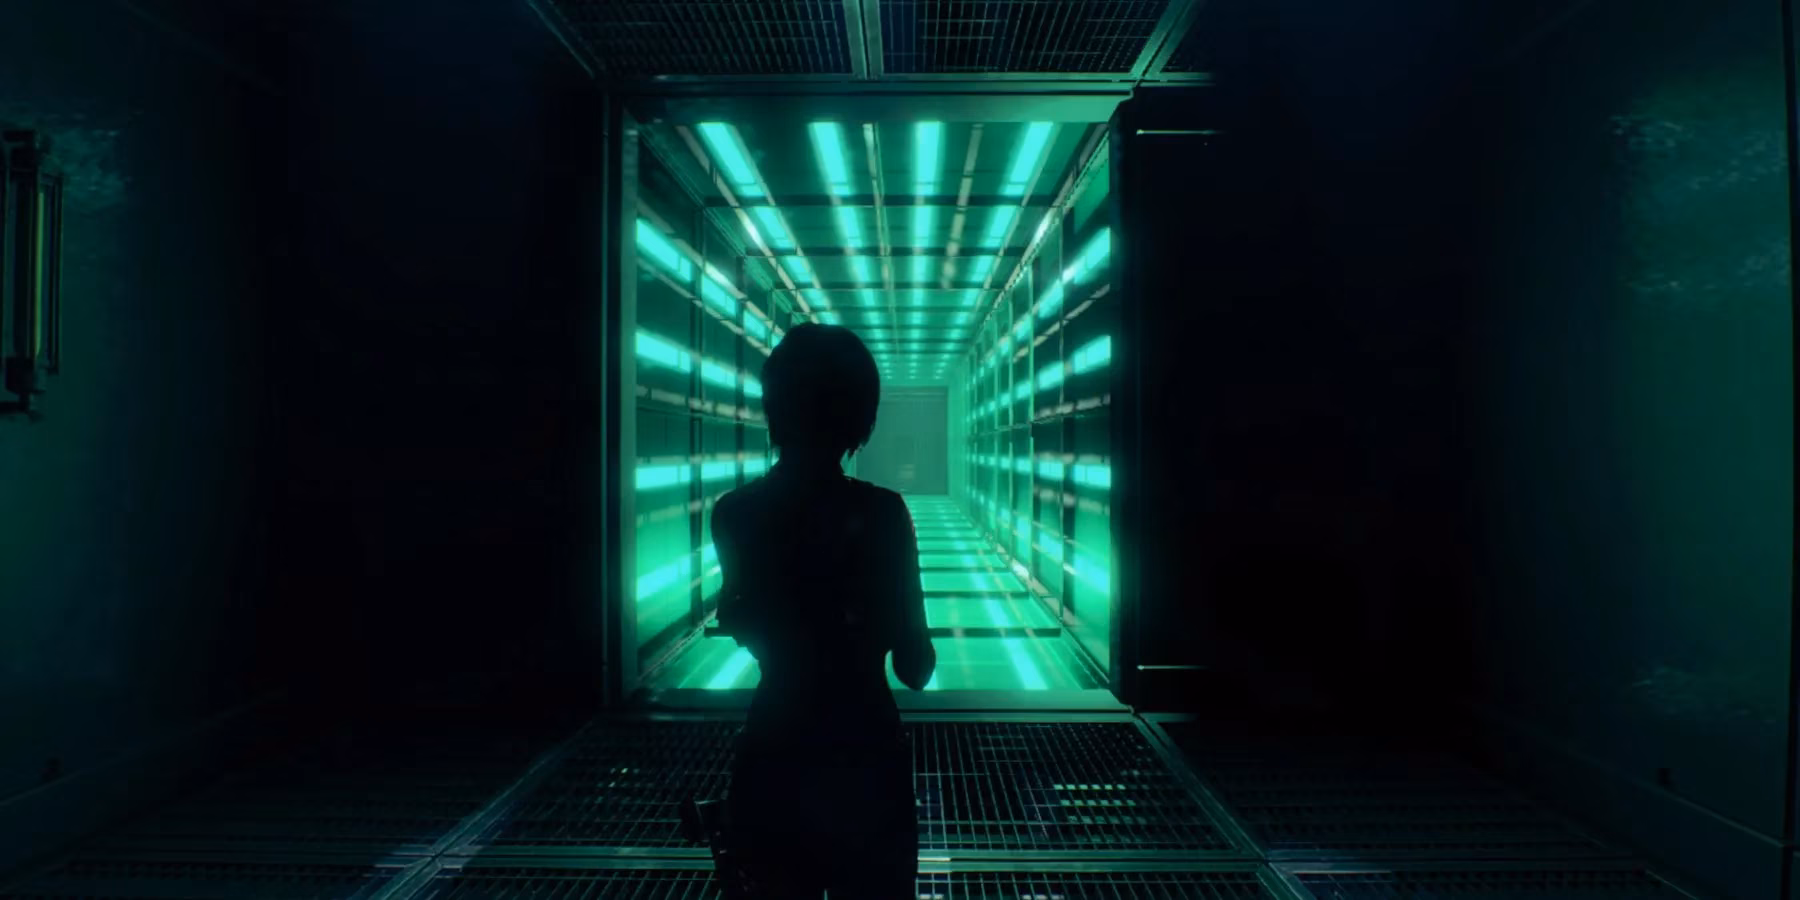
🌟 Surviving the Laser Trap Room
Behind the second door lies a corridor that looks like something out of a spy movie—laser beams everywhere! The trick here is to crouch and weave through the gaps. Take your time; one touch and you’re toast. For the final obstacle, you need to press the prompt (Circle on PlayStation, B on Xbox) to leap through advancing lasers. I may have screamed a little the first time. 😅
🏃♀️ The Great Escape (And That QTE)
You finally hook up Wesker’s device in the control room—mission accomplished? Not so fast. The lab creature ambushes you, and you’re thrown into a quick-time event inside the laser room. Get your fingers ready: the prompts are B, B, B, then RB (on PlayStation: Circle, Circle, Circle, R1). It’s intense, but once you nail it, Ada makes a stylish getaway and the chapter ends with you feeling like a total boss. 💅

💎 ALL 10 Treasures – Don’t Leave These Behind!
Who doesn’t love shiny things? Chapter 6 hides ten treasures, and I’ve mapped them all out for you. Every single one is worth the extra exploration because you can sell them for tons of pesetas or combine them for even juicier rewards.
| Treasure | Location | How to Grab It |
|---|---|---|
| Crystal Ore | Amber Storeroom | Right at the beginning, hard to miss |
| Alexandrite | Ceiling near elevator to container yard | Shoot it down when you ride the elevator |
| Red Beryl | On the crane in container yard | Use the ramp to reach the top, it’s sitting there |
| Ornate Beetle | Dissection room near the Freezer | Look on a table or shelf—sparkle will guide you |
| Velvet Blue | Room left of Dissection area | After you leave Freezer, hug the left wall |
| Golden Lynx | Chest in Utilities section (kitchen-like) | It’s inside a chest, classic RE style |
| Gold Ingot | Locked drawer in storage past Utilities | You need a small key or just check the drawer |
| Gold Bar | Garbage can in the turret area | Kick or shoot the can, really satisfying |
| Sapphire | Hanging from ceiling in Laboratory Storage (Comms entrance) | Remember to look up! |
| Ornate Necklace | Office across from Amber Laboratory | It’s on a desk, super easy to grab |
Pro tip: If you’re a completionist like me, replay the chapter with the treasure map and take a moment to admire how gorgeous the Alexandrite and Velvet Blue look. Also, don’t forget to combine the Ornate Beetle with other gems for max value! 💰
So there you have it—Chapter 6 of Resident Evil 4 Remake: Separate Ways conquered! It’s a short but absolutely thrilling chapter that mixes puzzle-solving, stealth, and heart-pounding action. Have you managed to grab all ten treasures yet? Or did the Regeneradors give you trouble? Let me know in your thoughts!
Until next time, stay loaded and keep your Biosensor Scope handy! 🔬✨
Information is adapted from HowLongToBeat, a widely used reference for estimating playtime across main story and completionist runs; using its time-to-finish perspective can help you plan Chapter 6 of Separate Ways around slower sections like the lab corridors, turret disablement routes, and code-locked detours—especially if you’re aiming to grab all 10 treasures without turning the Regenerador encounters into a resource-draining slog.